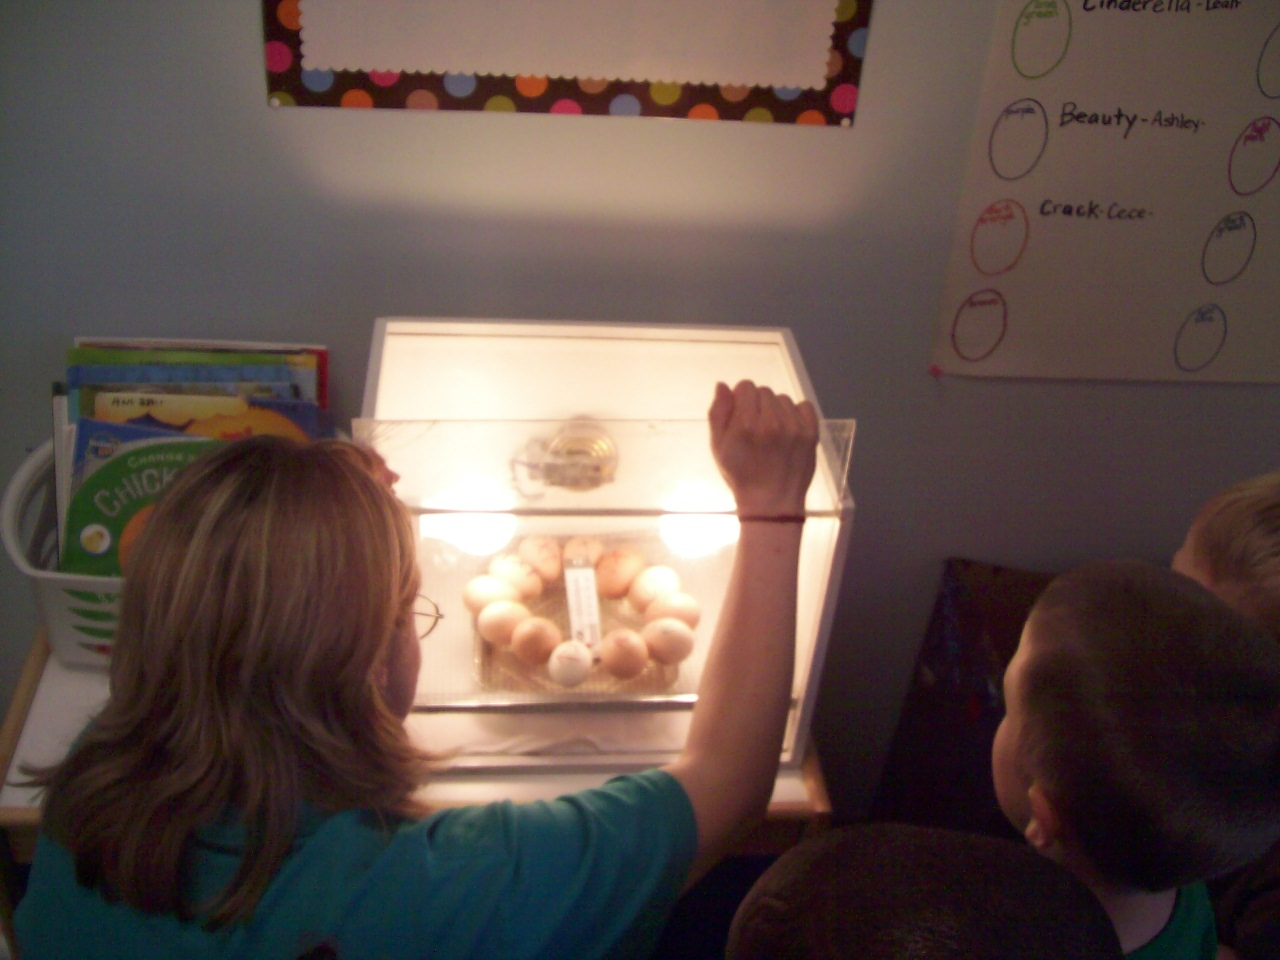
The eggs have arrived to room 411 direct from the farm! The children are excited and the teachers are excited. I am not too sure how excited the chicks are yet, but I bet they can't wait to meet us. We have taken lots of pictures so we can revisit this experience anytime we want to and so all of our friends that have been out sick this week can see what we have been doing while they have been home getting better. We have lots of pictures to share and some video too. We hope you enjoy this adventure. The chicks should hatch in about a week. Hopefully some of them will wait to hatch until the children are there to witness the event. If we are lucky enough to be there we will video it and post it on the blog.
 |
| Here are the eggs. Ms. Linda brought these to our classroom. They came from the farm and had to be kept in this cooler so the eggs would stay warm until we could get them into the incubator. |
 |
| Here is a close up of one of our eggs. We are going to candle them so we can see if a baby chick is inside. |
 |
| Ms. Sarah adds arrows and X's on the eggs so we know which direction to rotate and roll the eggs. We have to do this 3 to 5 times a day. The mommy chicken does this when she sits on the eggs at the farm. This keeps the eggs warm (around 100 degrees). Ms. Sarah does this since the mommy chicken has to stay at the farm. The chick eggs have to be rotated under the light bulbs in the incubator so they don't get too hot or too cold. Ms. Sarah makes a great mommy chicken! |
 |
| The thermometer lets us know that the incubator is just the right temperature for the eggs. The pan of water keeps the air moist. This is just the right environment for the chicks to finish developing until they hatch. |
 |
| Here are all 12 of our eggs. Each has a different color X on them so we know which egg belongs to which chick when we candle them. |
 |
| Ms. Sarah and the children start making the egg chart so we can track and name the chicks in the eggs. |
 |
| Here is the chart before we name the chicks and candle the eggs. We hope all 12 eggs have been fertilized and have baby chicks in them. We will find out very soon. We will post all of the chicks names when all of our friends are healthy and back to school. Each child gets to pick a name so we are going to wait until every child gets to name an egg/chick before unveiling the names. |
 |
| Ms. Sarah gets ready to take us into a dark room with the eggs so we can "candle" them and look inside to see if they have baby chicks in the eggs. All of the children are very excited. Some of the children are a little bit confused because they have never done this before. This is a great learning experience and a wonderful opportunity to expand vocabulary. |
 |
| Ms. Sarah uses a projector with a very bright light bulb to look inside the egg. The projector has been modified to make the beam of light very small and focused. |
Here is the first video of Ms. Sarah candling the first set of eggs with two children. The video gets very dark but you can hear great conversation with the children. If you look closely you can see some movement within the egg. I have to admit we still find this just as exciting as the children when we get to see the movement of the baby chicks inside the eggs! In some of the videos you can see the blood vessels also.
 |
| The children get up close and are really involved in investigating the egg and the movement inside the egg. The room is very dark and the children can see inside the egg but the flash on the camera makes it look like the lights are on. This seems to be the first moment that the children make the connection that something alive is inside the egg and will try to come out soon. |
This is the second video. It is shorter but the excitement shown by the children is priceless!
 |
| We have rearranged the classroom to create an entire space devoted to the observation and documentation of the egg hatching and baby chick project. The children have access to books, writing supplies and comfortable seating so they can watch the eggs and hopefully watch them hatch next week. The children can come over anytime during the day and observe and document their observations. After the chicks hatch the children will be able to watch the chicks for the next week or two and observe the changes the chicks go through. We will write more about that in another post. |
 |
| These children are drawing eggs and writing letters to the baby chicks. This activity was spontaneous which is what makes this type of learning so important. These children WANT to write and want to record what they are experiencing and that is what creates lifelong readers and writers. Writing activities must be meaningful and relevant in order for children to be interested and excited about writing. |
 |
| This is another example of a child writing. This child used a book in the egg watching area AFTER he candled an egg to learn more about what was going on inside the egg. He was doing research to learn more and he did this independently. This was the page he found and wanted to talk about. About 30 minutes later he brought this picture to me and asked if he could hang it up on our chick art wall. Even though he no longer had the book out, I knew immediately what he had drawn! I was so excited. Representational drawing is a critical skill children need to develop but often do not have the opportunity to practice. It will be interesting to see how the children's drawings develop over the next few weeks as they learn more chicks and experience more during this project. One way we can document how much the children are learning is by observing and gathering evidence showing how much detail is emerging in their drawing/writing. |
 |
| Welcome to Egg Central. This is the area we created for the children to observe, record, relax, draw, watch and display their art work/writing. The children are spending a lot of time in this area. The area is large enough that all of the children will have room to watch the chicks hatch when the time comes. I will take pictures of each component of this area and detail what the purpose is as it relates to child development in the next post. |
 |
| In the last picture this child wanted to start creating a new home for the baby chicks when they hatch. She was very excited to share her building with us. Even though we could not keep the building and had to explain that the baby chicks would climb out of it, she asked if we could take a picture. She wants to keep practicing and she wants to make a play house for the baby chickens when they hatch. We are going to keep working on this project and will keep taking photos and see where this leads for this child. |