Showing posts with label science. Show all posts

Tuesday, May 10, 2011

Chicks - Week 2: Drawing Chicks

These are our last few days with the chicks.  The children are really involved with observing and documenting their growth and the changes they see.  Here are a few pictures of them drawing the chicks from real life.  This is an important process.  This looks like an art project, but really it is also a scientific process and a pre-writing activity.  Children have to observe closely and pay attention to detail when drawing from real life.  It is a great idea to keep a spiral notebook or other writing notebook with you when you travel in the car, out to eat or to the store.  Ask your child to draw what they see.  People, food, places.  Doing this multiple times at the same place (like the grocery store) shows you how their drawing/writing skills improve with practice.  Drawing and writing are basically the same.  You have to learn how to make lines to form symbols that represent what you see (or to make meaning on paper).  Most of us were raised learning to write by having to write spelling words over and over and over again and dreading it!  During this activity many of the children were independently trying to write or they were finding other ways to use letters to represent and remember their thoughts and feelings.  This is how you raise a child who loves to write, loves words and loves to learn.  This is a very different approach to writing than most of us were raised with.  I hope these pictures help you see how successful, involved and excited these children were about writing and drawing.  Try this at home.  You don't need chickens to do this, just find something that sparks your child's interest.  Even trying to draw Sponge Bob will do!  Then have them draw a real sponge and compare the two.  Just have fun.  Oh, and you have to draw too.  You have to model what you want them to do.  Enjoy the pictures and I threw in one video not related directly to the drawing project just for fun.

The drawing/writing lesson started out by asking the children to look at how much the chicks had changed over the past week.  They noted that the biggest change was that the chicks were getting feathers and were starting to fly.

For the morning and afternoon classes we placed a few chicks on the table (with newspaper underneath, you know why!) and a laundry basket on top so they could see the chick and gave them paper and crayons.  We asked them to draw what they saw.  Those were the only instructions.  It is best to leave this type of activity as open-ended as possible.

Here the chicks are patiently waiting as the children start the process of drawing what they see. 

Busy hands, busy chicks. 

You can see that different children are at different stages of their writing abilities, but they are all deeply involved in the process.   It IS NOT about the results, it is about them being excited, involved and proud of their efforts that count.
Notice how the children are working side by side without comparison or competition.  Each child could tell us about their picture and what it represented.  Even though the drawing may not have much meaning to you, it has a lot of meaning to the child.  Avoid the standard "that is beautiful" and use more meaningful statements and questions such as "what do you like best about your picture?", "why did you pick those colors for your drawing?", "tell me about this part of your drawing?" and/or "what is you favorite part about your drawing?".  This creates children that are intrinsically motivated to do work and are not working just to get peer or adult praise.  These type of comments and questions show the children you are really connected and encourage children to do work because they enjoy it and find their work meaningful.  This leads to self-motivation and can help keep children from becoming acceptance seekers (which can lead to giving  in to peer pressure as they get older).

During our meeting time at carpet we looked closely at the chicks and compared how many toes they had to how many toes we had.  We took off our shoes and counted.  We looked at a chick and counted.  At first they thought the chicks had three toes, but when they looked closer (on closer investigation is the vocabulary we used with them) they realized that the chicks actually had FOUR toes.  One toe is smaller than the others and is hidden in the back of the foot for balance.  This child remembered that detail and added it into his drawing of the chick.  

This child is proudly showing the chicks their portraits.  A masterpiece I would say, don't you agree?

This child not only started a drawing, but also wanted to write the baby chicks name for him.  Here she is "reading" baby chicks name to him.  She then very proudly hung the picture up on the wall (but then took it down and wanted to take it home).  She independently went and found the foam letters and started writing with crayons and gluing the foam letters on her paper.  This was not part of the lesson, but she felt inspired to do this.  She was allowed, encouraged and supported to explore letters and incorporate her ideas into the "art" lesson.  This is one of the reasons we try to leave the activities open-ended and not give too many instructions.  The children need room to grow and explore, and by expecting every child to turn out cookie cutter type projects (where every project looks the same and it is obvious the teacher did most of the work) it hampers the children's growth and development and can actually keep them from learning as fast as they are naturally capable.


This video shows them exploring the chicks and looking at their wings.  They are also just enjoying being kids and spending time just basking in the wonder of holding something so much smaller than them. 

Wednesday, April 27, 2011

THE EGGS HAVE ARRIVED!

The eggs have arrived to room 411 direct from the farm!  The children are excited and the teachers are excited. I am not too sure how excited the chicks are yet, but I bet they can't wait to meet us.  We have taken lots of pictures so we can revisit this experience anytime we want to and so all of our friends that have been out sick this week can see what we have been doing while they have been home getting better.  We have lots of pictures to share and some video too.  We hope you enjoy this adventure.  The chicks should hatch in about a week.  Hopefully some of them will wait to hatch until the children are there to witness the event.  If we are lucky enough to be there we will video it and post it on the blog.

Here are the eggs.  Ms. Linda brought these to our classroom.  They came from the farm and had to be kept in this cooler so the eggs would stay warm until we could get them into the incubator.

Here is a close up of one of our eggs.  We are going to candle them so we can see if a baby chick is inside.

Ms. Sarah adds arrows and X's on the eggs so we know which direction to rotate and roll the eggs.  We have to do this 3 to 5 times a day.  The mommy chicken does this when she sits on the eggs at the farm.  This keeps the eggs warm (around 100 degrees).  Ms. Sarah does this since the mommy chicken has to stay at the farm.  The chick eggs have to be rotated under the light bulbs in the incubator so they don't get too hot or too cold.  Ms. Sarah makes a great mommy chicken!

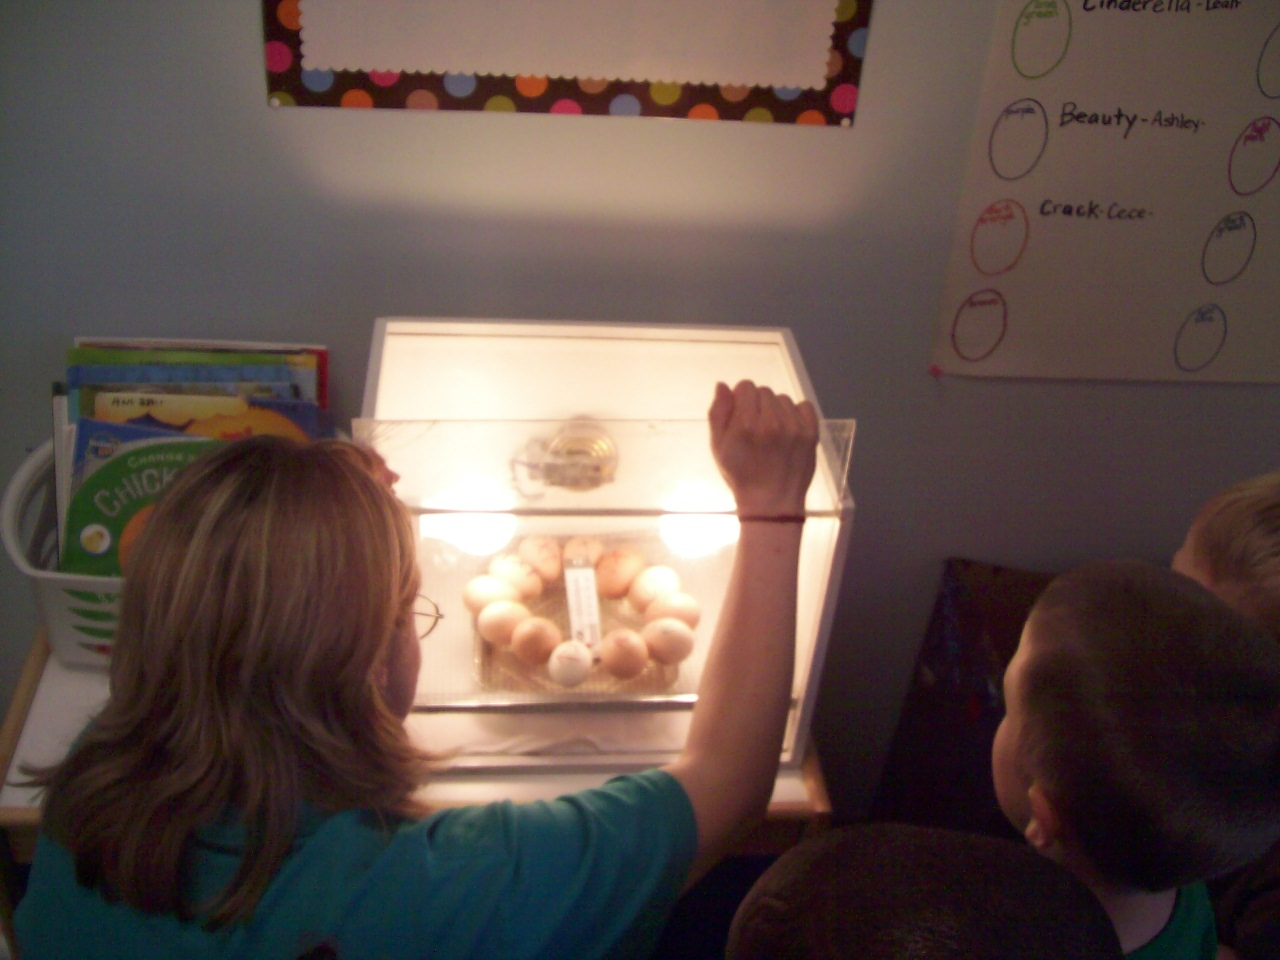
The thermometer lets us know that the incubator is just the right temperature for the eggs.  The pan of water keeps the air moist.  This is just the right environment for the chicks to finish developing until they hatch.


Here are all 12 of our eggs.  Each has a different color X on them so we know which egg belongs to which chick when we candle them.

Ms. Sarah and the children start making the egg chart so we can track and name the chicks in the eggs.

Here is the chart before we name the chicks and candle the eggs.  We hope all 12 eggs have been fertilized and have baby chicks in them.  We will find out very soon.  We will post all of the chicks names when all of our friends are healthy and back to school.  Each child gets to pick a name so we are going to wait until every child gets to name an egg/chick before unveiling the names.

Ms. Sarah gets ready to take us into a dark room with the eggs so we can "candle" them and look inside to see if they have baby chicks in the eggs.  All of the children are very excited.  Some of the children are a little bit confused because they have never done this before.  This is a great learning experience and a wonderful opportunity to expand vocabulary.

Ms. Sarah uses a projector with a very bright light bulb to look inside the egg.  The projector has been modified to make the beam of light very small and focused.


Here is the first video of Ms. Sarah candling the first set of eggs with two children.  The video gets very dark but you can hear great conversation with the children.  If you look closely you can see some movement within the egg.  I have to admit we still find this just as exciting as the children when we get to see the movement of the baby chicks inside the eggs!  In some of the videos you can see the blood vessels also.

The children get up close and are really involved in investigating the egg and the movement inside the egg.  The room is very dark and the children can see inside the egg but the flash on the camera makes it look like the lights are on.  This seems to be the first moment that the children make the connection that something alive is inside the egg and will try to come out soon.


This is the second video.  It is shorter but the excitement shown by the children is priceless!

 
We have rearranged the classroom to create an entire space devoted to the observation and documentation of the egg hatching and baby chick project.  The children have access to books, writing supplies and comfortable seating so they can watch the eggs and hopefully watch them hatch next week.  The children can come over anytime during the day and observe and document their observations.  After the chicks hatch the children will be able to watch the chicks for the next week or two and observe the changes the chicks go through.  We will write more about that in another post.

These children are drawing eggs and writing letters to the baby chicks.  This activity was spontaneous which is what makes this type of learning so important.  These children WANT to write and want to record what they are experiencing and that is what creates lifelong readers and writers.  Writing activities must be meaningful and relevant in order for children to be interested and excited about writing.


This is another example of a child writing.  This child used a book in the egg watching area AFTER he candled an egg to learn more about what was going on inside the egg.  He was doing research to learn more and he did this independently.  This was the page he found and wanted to talk about.  About 30 minutes later he brought this picture to me and asked if he could hang it up on our chick art wall.  Even though he no longer had the book out, I knew immediately what he had drawn!  I was so excited.  Representational drawing is a critical skill children need to develop but often do not have the opportunity to practice.  It will be interesting to see how the children's drawings develop over the next few weeks as they learn more chicks and experience more during this project.  One way we can document how much the children are learning is by observing and gathering evidence showing how much detail is emerging in their drawing/writing.


Welcome to Egg Central.  This is the area we created for the children to observe, record, relax, draw, watch and display their art work/writing.  The children are spending a lot of time in this area.  The area is large enough that all of the children will have room to watch the chicks hatch when the time comes.  I will take pictures of each component of this area and detail what the purpose is as it relates to child development in the next post.
 
In the last picture this child wanted to start creating a new home for the baby chicks when they hatch.  She was very excited to share her building with us.  Even though we could not keep the building and had to explain that the baby chicks would climb out of it, she asked if we could take a picture.  She wants to keep practicing and she wants to make a play house for the baby chickens when they hatch.  We are going to keep working on this project and will keep taking photos and see where this leads for this child.


Thursday, April 7, 2011

Eagle Hatching


Here is a wonderful video of the first 24 hours of the eagles hatching.  This has become a phenomenon and many people are watching the wonder of these new lives.  This is a great introduction to birds and hatching.  We will be getting our eggs for our chick hatching project on April 26th, 2011.  This would be a great video to watch with your child at home before the eggs arrive.  We will be checking in on the live feed during the day at school.  I provided that link in this weeks newsletter.  I will attach the link to the title of this post so you and your child can check in on the eagles at home.

Decorah Eagles

Total views: 25,617,946 The Raptor Resource Project brings you the Decorah Eagles from atop their tree at the fish hatchery in Decorah, Iowa.

The live video feed is streamed online 24/7. At night an infrared light provides night vision to viewers through the cam. Infrared light is not visible to eagles, they do not see it or know it is there.

First hatch 4/2/11.
24-hour collage of first egg pip and hatch
Second hatch 4/3/11.
First glimpse of second hatchling
Third hatch 4/6/11.
Close-ups of the third hatch

Tuesday, March 22, 2011

The Flute with Madeleine

Today we got to go to room 301 and see Ms. Monica's daughter Madeleine play the flute.  She showed us the different parts of the flute and then she played some songs for us.  It was great for us to learn more about how the sounds were made and we thought Madeleine was awesome!  Ms. Monica's other daughter Anneliese played the cello for us (watch for that video in another post) and her son John played the classical guitar for us (that will be posted in another video, they all won't fit into one post).  Enjoy watching these video's together with your child(ren).


Here is the second video of Madeleine playing some songs we could sing along with!

Monday, March 21, 2011

How To Make Duck Soup

This was the book we used for our Friendship Feast in late February.  The children loved this story and we highly recommend it!  It is all about a duck named Max and how his friends help save him from his own soup.  Have the children look at this cover and see how much of the story they can tell you.  This is a great activity for helping them build their long term memory, remembering story details, characters, setting, story sequencing, events, plot and increasing the general love of reading. It helps if you read the book first so you can help them recall the story and the sequence of events.  The following pictures show you how they made their own soup for their Friendship Feast. 
 No ducks were harmed in the making of this soup!


The children cut the potato's with plastic knives after the teachers cut the potato's into smaller pieces.  The children were closely supervised.  This was a great fine motor activity and helped them build the small muscles in their hands that they will need to grasp writing utensils properly so they can form letters and words.


We also did a science experiment with onions.  We cut them on the table and they made us cry!   We talked about the gas that was released into the air when we cut open the onion.  Then we cut the onion under water (we filled up a dish pan with water to do this) and we did not cry.  When you cut an onion under water it diffuses the gas and it does not reach your eyes and your eyes do not get irritated.


We took turn adding ingredients.


Everyone adds a little bit of love to the soup.
 
We asked what Max would add to his soup so the children would have to refer back to the book and take previous learning (from the book) and apply it to current learning (making the soup).  This is how long term neural pathways are formed in the brain.  Children need numerous opportunities to reapply previously gained knowledge to current activities for learning to be meaningful and relevant.


Oh-la-la!  The soup!  (They say Oh-la-la in the book so we said it too!)


Watch out MAX!  Don't eat the duck!
 
The children set the table for their friends in the afternoon class and added Ms. Beth's ducks to the soup.  Thank you Ms. Beth for letting us borrow your little ducks.  We thought they were funny.


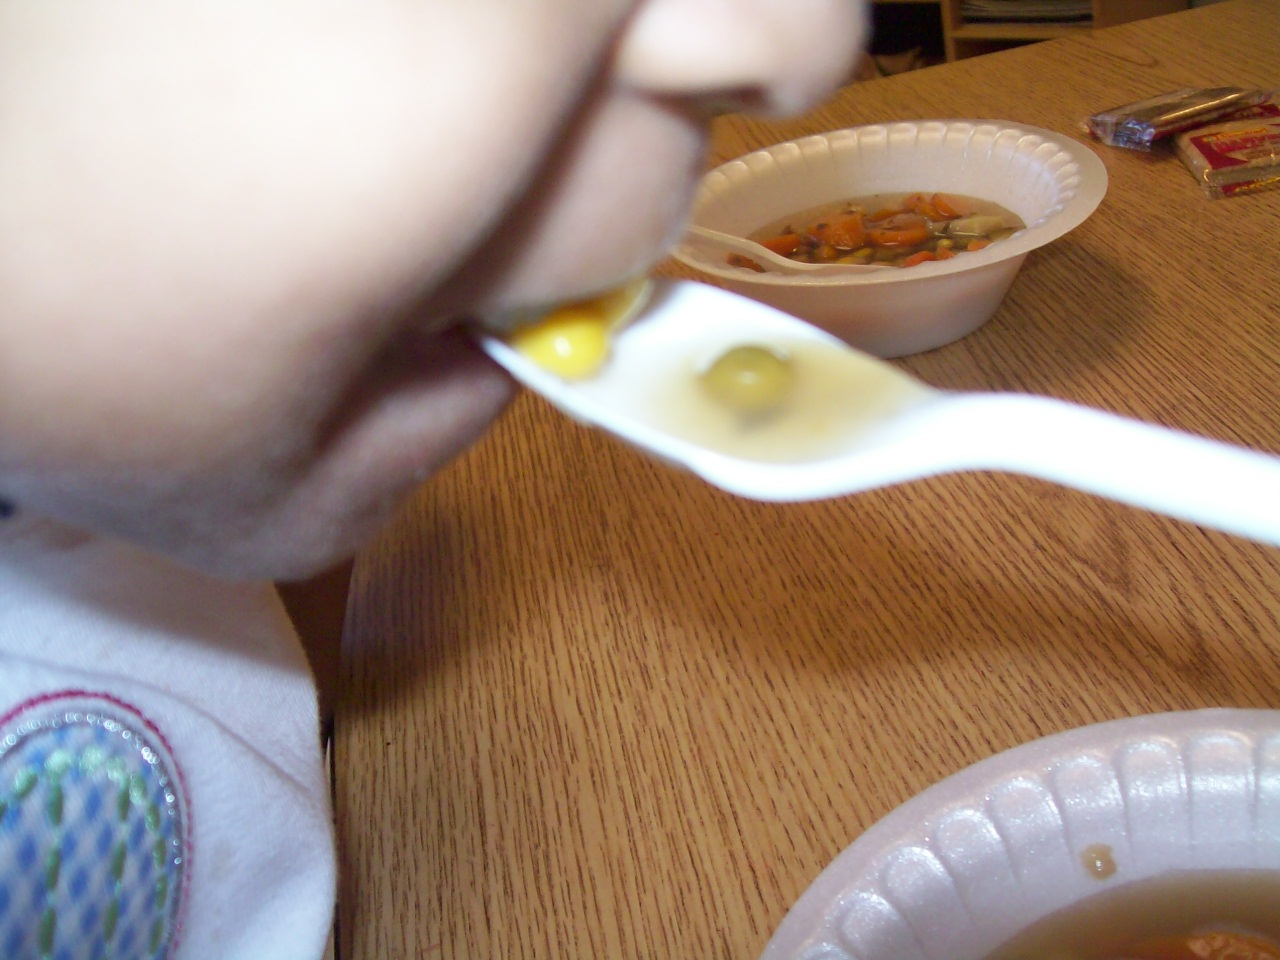
We had children that normally would not even try a vegetable try the soup.  Some loved it, some did not like it, but they all tried it.  We think it was because they got to make it.  They were invested in the process.  The activity was more like an art activity than a cooking activity.   The more involved a child can become in an activity like cooking a new food, the more likely they are to try something new.  We all had a great time with this book, with this activity and with each other.  We hope you enjoyed looking at these pictures and talking with your children about this experience.  Feel free to write down their reflections on these pictures and send them to us in an email or in their backpack so we can add it to their portfolio and use their reflections to help us plan further lessons.


Tuesday, March 1, 2011

The Amazing Milk Magic Trick

Today we did a really cool milk experiment.  We video taped it so you could do it at home with your child.  It is simple and so much fun!  It is also an art project.  I am posting the video and the pictures for your enjoyment.  Let me know if you do this at home.  This is a great project for one of the rainy days when you are stuck inside this spring.


After we finished showing the children how to do the experiment we let the children perform the experiment themselves.  They each got their own pan and filled it half way full with milk.  The practiced their fine motor skills by squeezing one or two drops of food coloring into the milk and just one drop of dish soap into the center of the food coloring.  They then used their toothpicks to make swirls and lines through the food coloring.  They also dropped more plain milk into the swirls of food coloring to see if anything would change.  Below are the pictures of the process and the results.  The children were so involved and the experiment lasted almost 45 minutes.  Who ever said children had short attention spans?  It just depends on how interesting and relevant the project is and how involved they are allowed to be in the process.

Carefully adding a drop of blue food coloring into the pan of milk.

The food coloring immediately separates and flows to the sides of the pan when the dish soap comes into contact with the milk and food coloring.  The concepts of chemical reactions and surface tension are introduced in this activity.

Each child was able to do their own lab experiment.  Children need early exposure to math and science and they need to experience science in a way that is hands-on, fun, magical and fascinating in order to create a life long interest in the math and science arts.  This early exposure to lab experiences and science vocabulary is crucial to creating students who enjoy and not dread taking math and science classes in middle and high school.

Ta DA!  Magic.  The star pattern appears as the soap hits the milk and food coloring.


Now the children are adding additional drops of food coloring after the initial experiment had been completed.  The new drops no longer scatter when the dish soap is added.  Now the colors just merge and swirl.

Milk art.  Now our science experiment is becoming an art project.  Many times art and science are interrelated.  This is way it is critical that art programs remain in school programs.  Children become much more involved in scientific concepts when presented in artistic presentations, such as mixing different colors, different textures, solids, structures, sounds.  As we erase the arts we also erase math, language and science proficiency.

The children used vocabulary words like swirly, layers, mixing, yucky, cool, crazy, combining, coming together, floating, spreading out, moving and many more as they watched the changes as they added, stirred and mixed the colors.

The more we mixed, the more complex the patterns became.

One child said this looked like a storm cloud.  Making these types of comparisons shows the development of higher level thinking and shows that the child is assigning meaning to their art.

The children spent a lot of time trying to find pictures in their milk art.  Some saw rainbows, waves, flowers, hearts, butterflies, blood, chocolate milk, clouds, lines, and roads just to name a few.

What do you see when you look at this picture?  What can you do with a pan of milk, some food coloring, a few toothpicks and some dish soap?  How long can you play with your child, have a conversation, laugh, expand their vocabulary, ask open-ended question, have fun, connect and just enjoy each other's company?  I dare you to play in your milk!  And don't worry if you spill some, we did!